

Security Camera - PART-1
- ShrutiRoyBir

- Nov 5, 2021
- 4 min read
Updated: Jan 1, 2022
Fun Fact : The first CCTV camera was installed in Germany in 1942 for observing the launch of V2 rocket at Test Stand VII by German engineer, Walter Bruch. They only started being used publicly in 1962 (According to caldersecurity.co.uk )

Another interesting workshop where I modelled a security camera. I start of with a cube and I smooth it. I could have used a sphere for this model but to reduce the number of polygons I have used a smoothed cube, I just added 2 divisions to get more edges and polygons to use.

I select the center edge and right click to select the option detach components. This allows me to split the sphere in half and it’s easier to select one half of the sphere.
Now I deleted one half of the sphere and extruded it. The end part of the camera is slimmer than the front so we will select the top and bottom faces and scale it in a bit but I changed the settings of the tools. Now I will enable soft select and scale in.

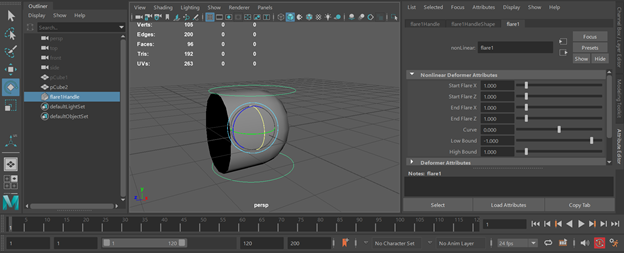
Another way is using a flare deformer because shape is still not similar to what I need but by moving the deformers I easily achieved the shape needed
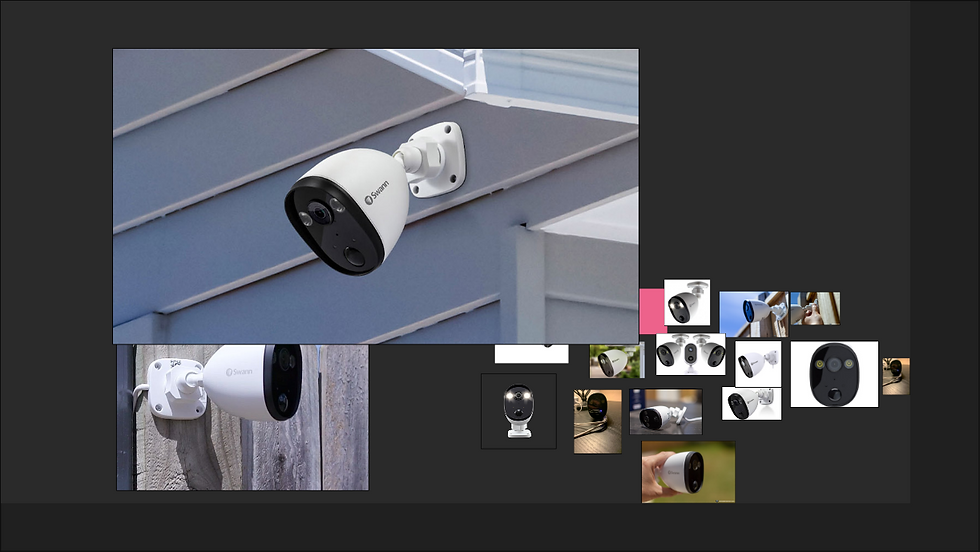
Useful Info: I must mention about PureRef (https://www.pureref.com/ ) here. It gives us a platform where we can just drag and drop reference pictures without downloading it. and it allows us some advance features which is really helpful for example the PureRef window can be fixed on top of all applications opened on screen. It is time saving. I will definitely recommend using it.
Okay, back to our modelling...
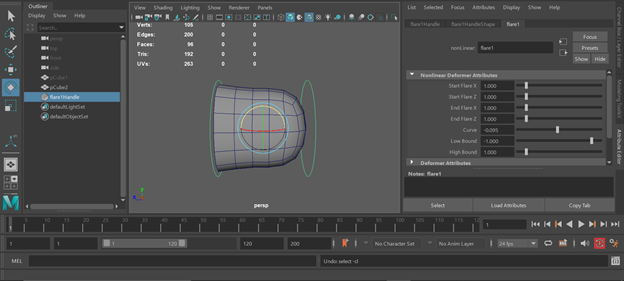
As I have mentioned, Deformer is really a great tool. Since the model is round from the front, I will scale it. Using a reference image always helps. We can adjust according to its shape.
We can use another deformer to get the shape perfect. Right click on the deformer and click lattice point. This will bring up some vertices that can be used to move certain parts of the model. I think now the shape looks perfect.

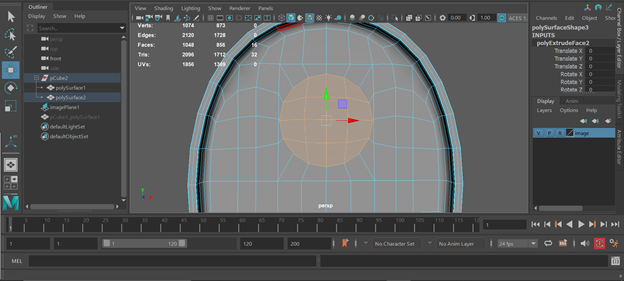
Next, to create the front part first I will extrude and make a surface to work on and add edges to make some important details of the camera. I make a small belt of faces, select them and extrude them inwards. I add an edge loop in the middle and select it then detach components. I go to face mode and select the other faces. I add edge loops to the object selected to make a slight curve on the surface shown in the picture above. After doing that I smooth the selected object and delete any unwanted edges. Such edges are: edges that aren’t supporting edges.

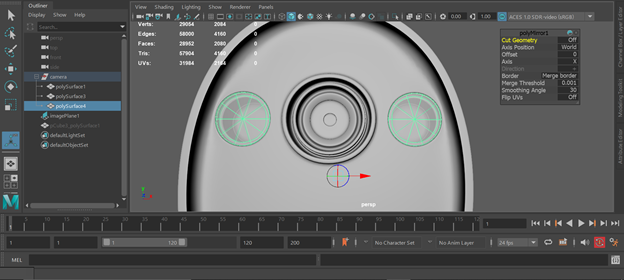
Next, we make a circle on the surface to make the light/camera that’s used to capture videos/pictures. I go to my front view and select the faces where I’ll have my circle. I use the circularize tool to make a circle.
IMP Tips:
To keep the circular shape, since the extruding process ruins the shape of the circle a bit, we need to keep pressing the circularize button multiple times.
Keep on deleting history so that our computers don’t slow down, Maya doesn't crash and it will be easier to go back to a step and change certain things.
By adding Blin to our model, we can check for any Surface artifacts or surface disruption/issues.
Now I will make only 1 circle so that I could delete the other half of the model and mirror it. I follow the same process done for the bigger circle and other specific details. And gradually, achieve the shape as in reference picture.

After that, in the reference picture of our camera we can see that there is glass which we need to make. I will select the faces and right click + duplicate faces.
Then I will select the duplicated faces and press CTRL + 1. We will center the pivot point and select the outer edges and right click + merge edges to center. I extruded to give it some thickness and add some supporting edges. Add Blinn and change the transparency to make it look like glass. Now as the model is ready, we create a group with the object selected by pressing CTRL + G. Now the pivot point is at 0,0,0 so now we can mirror it or use duplicate special.
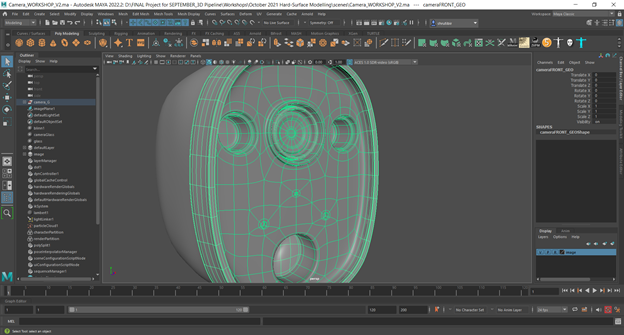
We do the same process for the whole camera. Once done we need to check the topology and I organize my outliner, then I do a model clean up.
Now we will make the pivot handle of the camera which will allow the camera to rotate and hang from ceilings.
I start with a sphere and extrude faces to build up the main handle. I later start with the details such as the bolts and the panels that are attached to the walls to hold the camera. I attach it to the camera and I'm done.


Great entry! Love seeing your progress, keep it up!