

Maya and Arnold Lighting: Character Lighting
- ShrutiRoyBir

- Dec 20, 2021
- 3 min read
Updated: Oct 11, 2023
Lighting is always a fun thing to do! It makes any scene look more lively.

I have chosen the Neka rig for the project and I have used it for only educational purposes.
First, I created some different poses which represent different moods of the character and adding the lights. Now I will do some research on different lighting option and create different moods.
I make quick and rough poses to test the lighting on and set up a camera.
Let's start with a happy expression. I wanted to do a face close-up expression with some warm lights around the character.


I used area light and spot light. In attribute editor I changed the intensity since the light wasn't visible in Arnold.
I added a plane behind the character for shadows but then I had to change the lighting placement because you could see a bright reflection of the light on the plane. This was probably because I used AI standard surface.
I changed the penumbra angle value in the attribute editor so that the edges of the spot light will be a bit blurred and blended with the background. I also changed the value of the drop off so that the shadow that's being created behind the character will look more blurry.

I made a lot of changes to this. My first lighting attempt on this pose looked more like a photoshoot. I wanted to give it a warm, happy mood so I ended up changing the color and intensity of the lights.
And then the finished product...

I had to bump up the sample value so that it wouldn't look too blurry in the Arnold render view and I'm extremely happy with the way it turned out!
For the next pose I made a sad mood so that I can use cooler colors.

I also put a wall beside her for some shadows and to make it look like she's leaning on the wall. I used area light a lot for these. It's helpful when you don't have any environment and just want to focus light on the character.


I used 2 area lights to make her face features and expressions visible but I also wanted it to look like she was trying to hide herself in embarrassment or sadness.
And the final product..

I tried doing something different for the 3rd pose and took a reference image.

Reference link: https://www.crowsworldofanime.com/posts/trinity-seven-episode-8-review-best-in-show/
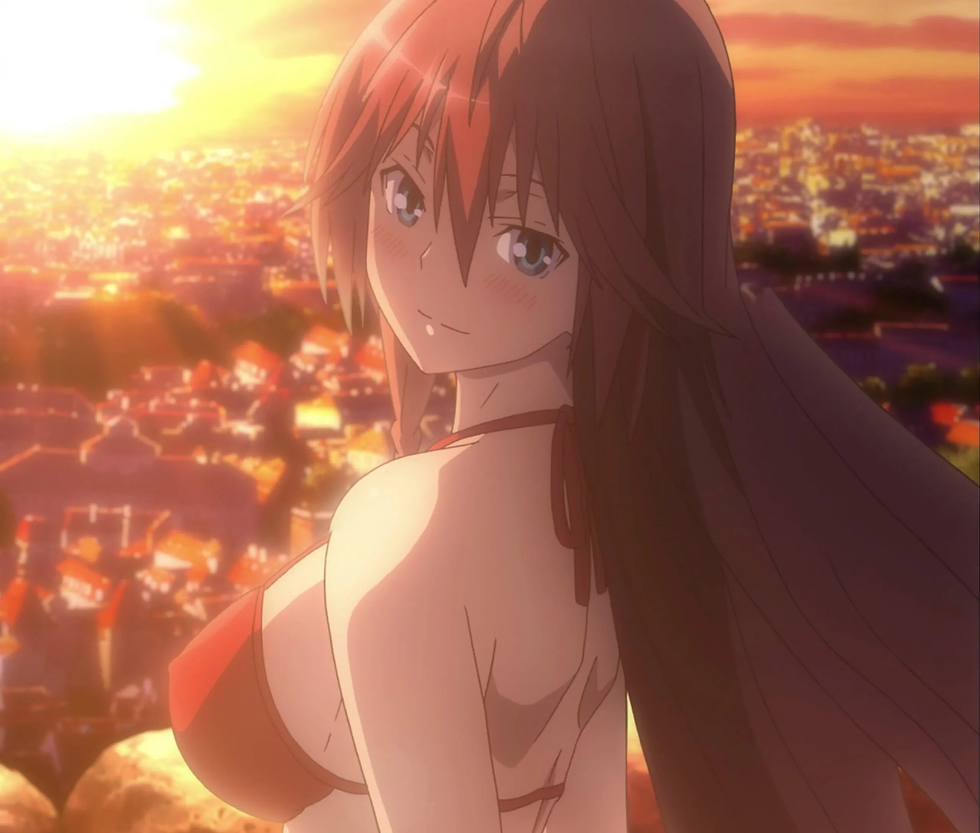
A girl standing in front of a sunset. The lighting depends on the time here. The scene gives us a moody vibe. I was inspired and decided to use this pose but make the color of the lights more bold.
First, I start with thinking on how many lights we need to use to make this scene. I used 2 lights, area light and directional light. I used the directional light to make the model visible and used it as the base lighting. I then add an area light behind the model. Figuring out the angle from where the light will be coming from was surprisingly hard. I also made the lights red to give it a bit of a romantic vibe.


And my final outcome...

Sorry for the blurry pictures, I tried bringing the samples up but my laptop couldn't handle it and Maya kept crashing. Another thing I noticed was this random white pixels being generated near her lips. This wasn't visible until now. I tried adjusting the values but it still doesn't go. Anyways, I'm quite happy with these. The model was extremely fun to play with and the end products made it better.


Comments